Hardwood Installation
WHAT TO EXPECT BEFORE INSTALLATION DAY.
Being prepared will make the entire process go faster, more efficiently, and hopefully eliminate any surprises. Make sure you have a seasoned, dedicated professional hired so you can be assured that you will receive a beautiful, efficient, and correct installation.
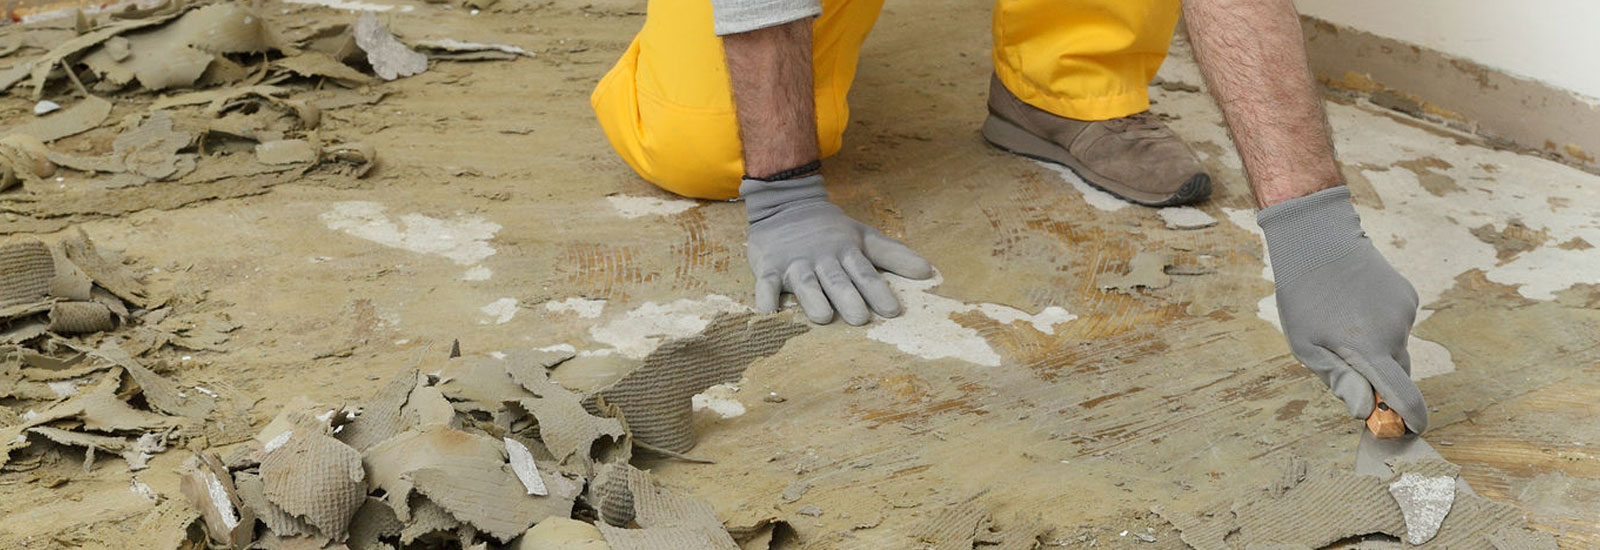
Remove all furniture and other objects from the areas where the installation will take place. If you are removing your current floor covering, do it at least one day prior to the arrival of your hardwood product to allow for cleanup and floor preparation. If removing old carpet, please leave tack strips in place and pull out the staples from the floor. In many cases, moldings and baseboards need to be removed for the hardwood installation.
Your existing subfloor may need to be prepared to receive the hardwood or a new subfloor may be required. It is important that the subfloor be as clean and level as possible. All hardwood products need to be acclimated to the new environment for at least four to five days prior to installation. The area of installation must be climate controlled and indoor humidity should be maintained between 45-65%.
WHAT TO EXPECT DURING INSTALLATION.
Plan on being home on installation day. Be prepared to be available in case the installers have questions. Your installers will use a variety of tools that can make the work area hazardous. Please be sure that children and pets are kept out of the area on installation day.
Your installer will use one of four methods to install your new hardwood floor: nail down, staple down, glue down, or float. In a nail down installation, 2” nailing cleats are used with a wood flooring nailer and mallet to attach the flooring to the subfloor. During a staple down installation, staples are used instead of nails. A pneumatic gun is used to drive the staple into the wood flooring and subfloor. With a glue down installation, an adhesive is spread on with a trowel and then adhered to the subfloor. In a floating installation, the floor is not fastened to any part of the subfloor. A thin pad is placed between the wood flooring and the subfloor. Then a wood glue is applied in the tongue and groove of each plank to hold the planks together. Engineered wood floors and parquets are typically glued down. Solid strip floors and plank floors can be nailed or stapled down. Engineered floors and longstrip floors can be floated.
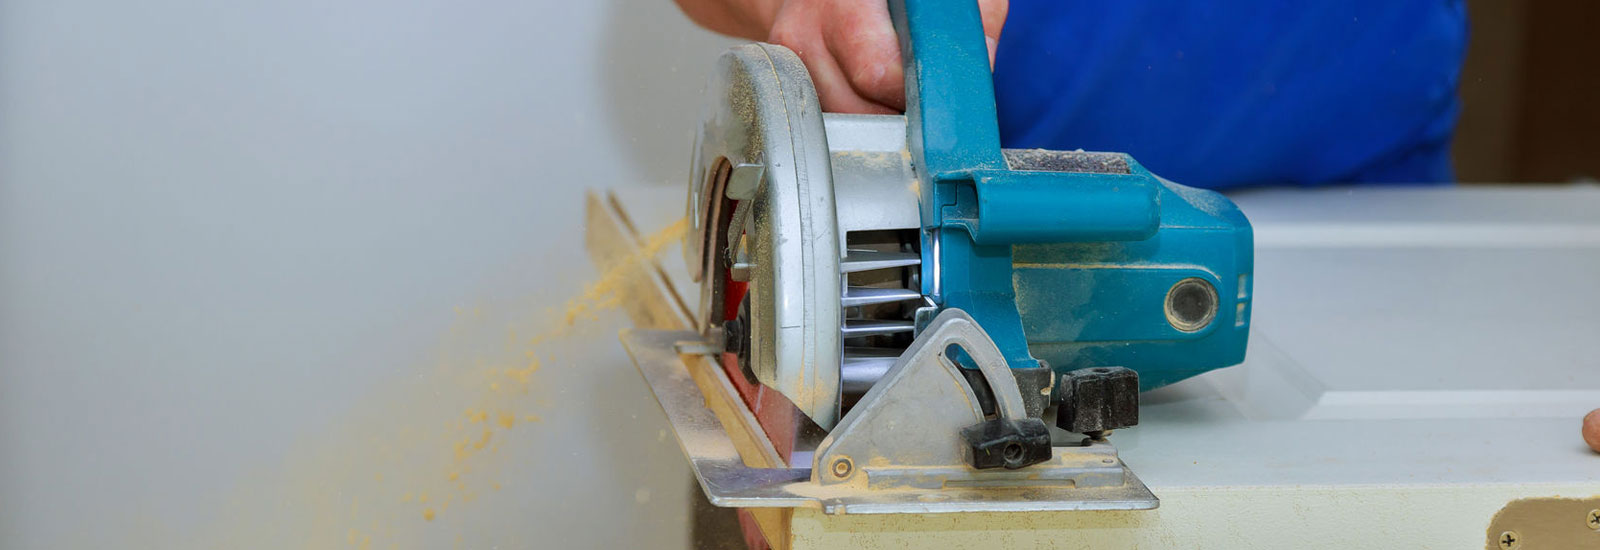
When hardwood is installed, there is always the possibility that the doors may not clear the new hardwood and swing freely. Some installers will remove doors in order to install the hardwood and rehang them. You may need to arrange for a carpenter to shave or cut down doors to ensure clearance.
Prior to the completion of the installation, do a walk through with the chief installer. This will give you the opportunity to ask questions and to be clear on any final details.
WHAT TO DO AFTER INSTALLATION DAY.
Good ventilation should be established for 48-72 hours after installation. Usually, the waste materials are collected by your installer and left at your trash collections site but check with us, so you are clear about the cleanup. Painted baseboards, woodwork, and paint may need retouching after the installation is complete. If necessary, this is your responsibility.
WHAT TO EXPECT BEFORE INSTALLATION DAY.
Being prepared will make the entire process go faster, more efficiently, and hopefully eliminate any surprises. Make sure you have a seasoned, dedicated professional hired so you can be assured that you will receive a beautiful, efficient, and correct installation.

Remove all furniture and other objects from the areas where the installation will take place. If you are removing your current floor covering, do it at least one day prior to the arrival of your hardwood product to allow for cleanup and floor preparation. If removing old carpet, please leave tack strips in place and pull out the staples from the floor. In many cases, moldings and baseboards need to be removed for the hardwood installation.
Your existing subfloor may need to be prepared to receive the hardwood or a new subfloor may be required. It is important that the subfloor be as clean and level as possible. All hardwood products need to be acclimated to the new environment for at least four to five days prior to installation. The area of installation must be climate controlled and indoor humidity should be maintained between 45-65%.
WHAT TO EXPECT DURING INSTALLATION.
Plan on being home on installation day. Be prepared to be available in case the installers have questions. Your installers will use a variety of tools that can make the work area hazardous. Please be sure that children and pets are kept out of the area on installation day.
Your installer will use one of four methods to install your new hardwood floor: nail down, staple down, glue down, or float. In a nail down installation, 2” nailing cleats are used with a wood flooring nailer and mallet to attach the flooring to the subfloor. During a staple down installation, staples are used instead of nails. A pneumatic gun is used to drive the staple into the wood flooring and subfloor. With a glue down installation, an adhesive is spread on with a trowel and then adhered to the subfloor. In a floating installation, the floor is not fastened to any part of the subfloor. A thin pad is placed between the wood flooring and the subfloor. Then a wood glue is applied in the tongue and groove of each plank to hold the planks together. Engineered wood floors and parquets are typically glued down. Solid strip floors and plank floors can be nailed or stapled down. Engineered floors and longstrip floors can be floated.

When hardwood is installed, there is always the possibility that the doors may not clear the new hardwood and swing freely. Some installers will remove doors in order to install the hardwood and rehang them. You may need to arrange for a carpenter to shave or cut down doors to ensure clearance.
Prior to the completion of the installation, do a walk through with the chief installer. This will give you the opportunity to ask questions and to be clear on any final details.
WHAT TO DO AFTER INSTALLATION DAY.
Good ventilation should be established for 48-72 hours after installation. Usually, the waste materials are collected by your installer and left at your trash collections site but check with us, so you are clear about the cleanup. Painted baseboards, woodwork, and paint may need retouching after the installation is complete. If necessary, this is your responsibility.


